Azure Container Apps, Bicep and GitHub Actions
Azure Container Apps are an exciting way to deploy containers to Azure. This post shows how to deploy the infrastructure for an Azure Container App to Azure using Bicep and GitHub Actions. The Azure Container App documentation features quickstarts for deploying your first container app using both the Azure Portal and the Azure CLI. These are great, but there's a gap if you prefer to deploy using Bicep and you'd like to get your CI/CD setup right from the beginning. This post aims to fill that gap.
If you're interested in building your own containers as well, it's worth looking at this follow up post.

Updated 02/05/2022
This post has been updated to reflect the migration of Azure Container Apps from the Microsoft.Web namespace to the Microsoft.App namespace in March 2022. See: https://github.com/microsoft/azure-container-apps/issues/109
Bicep
Let's begin with the Bicep required to deploy an Azure Container App.
In our new repository we'll create an infra directory, into which we'll place a main.bicep file which will contain our Bicep template.
I've pared this down to the simplest Bicep template that I can; it only requires a name parameter:
param name string
param secrets array = []

var location = resourceGroup().location
var environmentName = 'Production'
var workspaceName = '${name}-log-analytics'

resource workspace 'Microsoft.OperationalInsights/workspaces@2021-12-01-preview' = {
  name: workspaceName
  location: location
  properties: {
    sku: {
      name: 'PerGB2018'
    }
    retentionInDays: 30
    workspaceCapping: {}
  }
}

resource environment 'Microsoft.App/managedEnvironments@2022-01-01-preview' = {
  name: environmentName
  location: location
  properties: {
    appLogsConfiguration: {
      destination: 'log-analytics'
      logAnalyticsConfiguration: {
        customerId: workspace.properties.customerId
        sharedKey: listKeys(workspace.id, workspace.apiVersion).primarySharedKey
      }
    }
  }
}

resource containerApp 'Microsoft.App/containerApps@2022-01-01-preview' = {
  name: name
  kind: 'containerapps'
  location: location
  properties: {
    managedEnvironmentId: environment.id
    configuration: {
      secrets: secrets
      registries: []
      ingress: {
        'external':true
        'targetPort':80
      }
    }
    template: {
      containers: [
        {
          'name':'simple-hello-world-container'
          'image':'mcr.microsoft.com/azuredocs/containerapps-helloworld:latest'
          'command':[]
          'resources':{
            'cpu':'.25'
            'memory':'.5Gi'
          }
        }
      ]
    }
  }
}
Some things to note from the template:
- We're deploying three resources; a container app, a kube environment and an operational insights.
- Just like the official quickstarts we're going to use the
containerapps-helloworldimage.
Setting up a resource group
In order that you can deploy your Bicep, we're going to need a resource group to send it to. Right now, Azure Container Apps aren't available everywhere. So we're going to create ourselves a resource group in North Europe which does support ACAs:
az group create -g rg-aca -l northeurope
Deploying with the Azure CLI
With this resource group in place, we could simply deploy using the Azure CLI like so:
az deployment group create \
  --resource-group rg-aca \
  --template-file ./infra/main.bicep \
  --parameters \
    name='container-app'
Deploying with GitHub Actions
However, we're aiming to set up a GitHub Action to do this for us. We'll create a .github/workflows/deploy.yaml file in our repository:
name: Deploy
on:
  push:
    branches: [main]
  workflow_dispatch:

env:
  RESOURCE_GROUP: rg-aca

jobs:
  deploy:
    runs-on: ubuntu-latest
    steps:
      - name: Checkout repository
        uses: actions/checkout@v2

      - name: Azure Login
        uses: azure/login@v1
        with:
          creds: ${{ secrets.AZURE_CREDENTIALS }}

      - name: Deploy bicep
        uses: azure/CLI@v2
        with:
          inlineScript: |
            az deployment group create \
              --resource-group ${{ env.RESOURCE_GROUP }} \
              --template-file ./infra/main.bicep \
              --parameters \
                name='container-app'
The above GitHub action is very simple. It:
- Logs into Azure using some
AZURE_CREDENTIALSwe'll set up in a moment. - Invokes the Azure CLI to deploy our Bicep template.
Let's create that AZURE_CREDENTIALS secret in GitHub:

We'll use the Azure CLI once more:
az ad sp create-for-rbac --name "myApp" --role contributor \
    --scopes /subscriptions/{subscription-id}/resourceGroups/{resource-group} \
    --sdk-auth
Remember to replace the {subscription-id} with your subscription id and {resource-group} with the name of your resource group (rg-aca if you're following along). This command will pump out a lump of JSON that looks something like this:
{
  "clientId": "a-client-id",
  "clientSecret": "a-client-secret",
  "subscriptionId": "a-subscription-id",
  "tenantId": "a-tenant-id",
  "activeDirectoryEndpointUrl": "https://login.microsoftonline.com",
  "resourceManagerEndpointUrl": "https://management.azure.com/",
  "activeDirectoryGraphResourceId": "https://graph.windows.net/",
  "sqlManagementEndpointUrl": "https://management.core.windows.net:8443/",
  "galleryEndpointUrl": "https://gallery.azure.com/",
  "managementEndpointUrl": "https://management.core.windows.net/"
}
Take this and save it as the AZURE_CREDENTIALS secret in Azure.
Running it
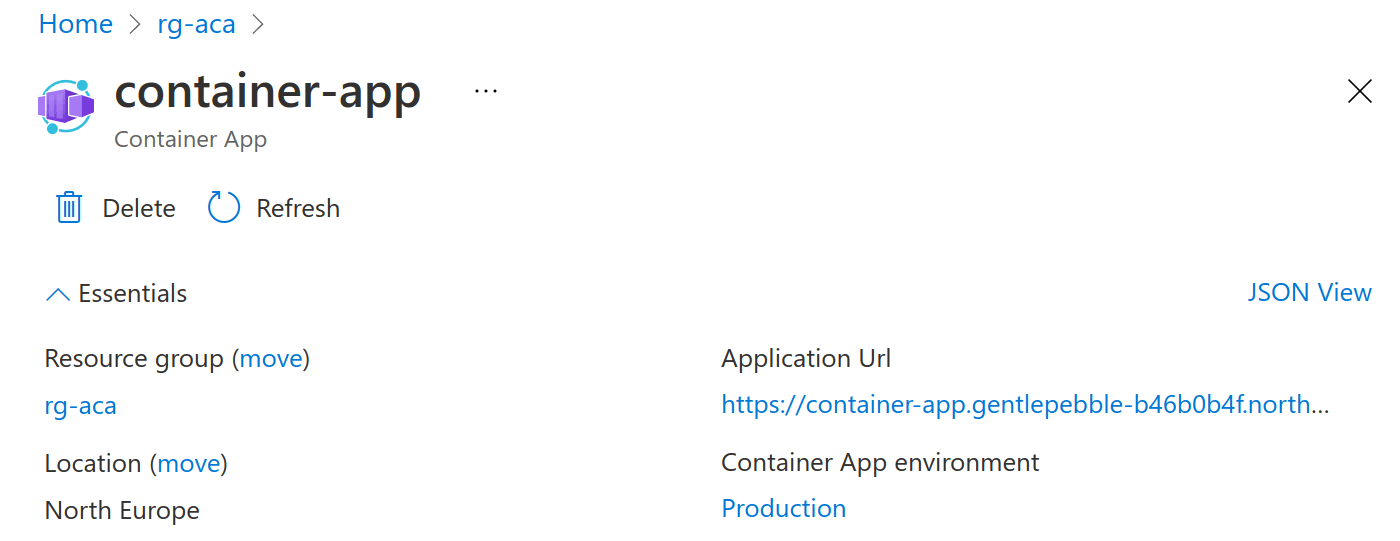
When the GitHub Action has been run you'll find that Azure Container App is now showing up inside the Azure Portal:

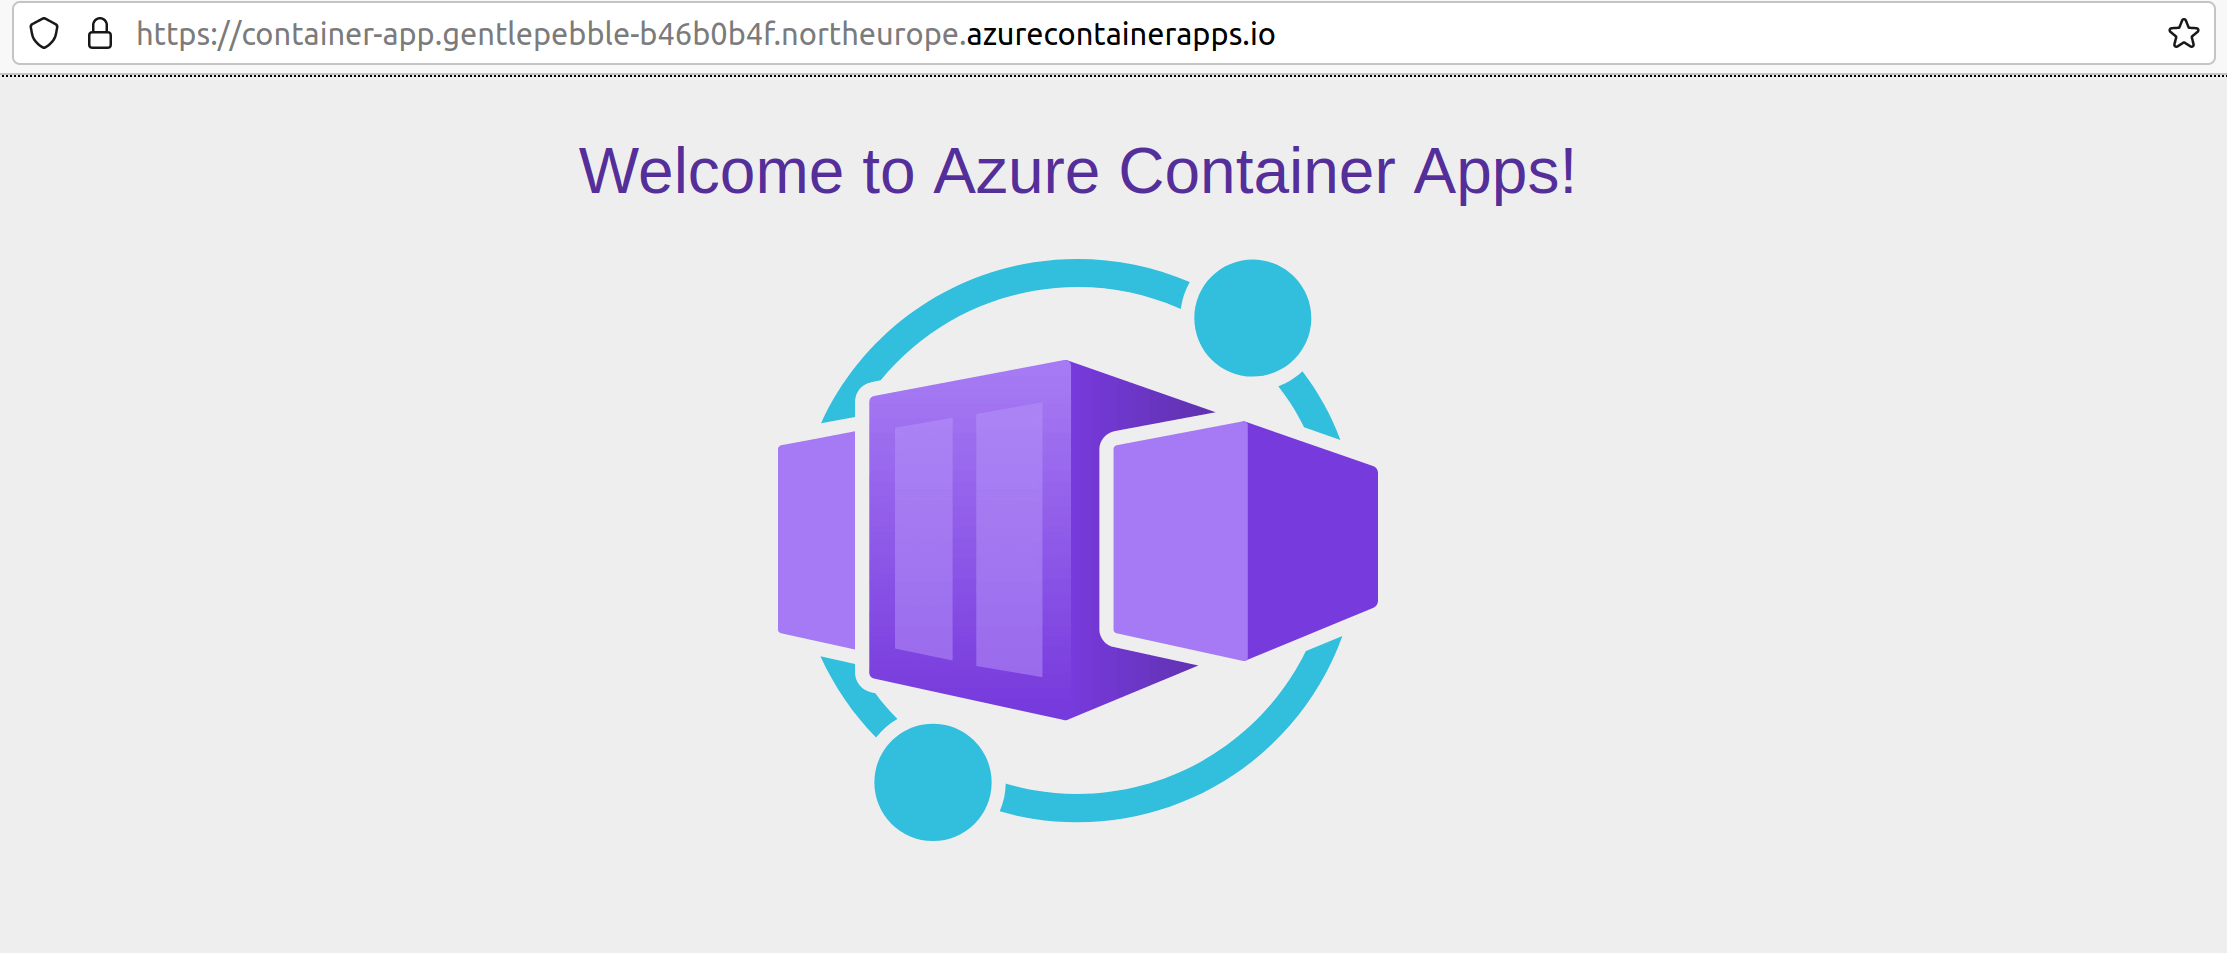
You'll see a URL is displayed, when you go that URL you'll find the hello world image is running!

